Inky Play Friday!

Hey friends, it’s Friday, my favorite day of the week! I hope you are ready for some inky play. I rolled up my sleeves, broke out my distress oxide inks, Fintec paints, a new embossing folder, and some sequins to create a Halloween card.

Inspiration

I was inspired by Cathy Zielski’s video, The Best Halloween Embossing folder. I saw her video and knew that I had to have this adorable embossing folder. I have been having a moment with all of my old embossing folders and have been quickly snatching up the new 3D embossing folders that are on the market now. So when I saw her card I ordered the embossing folder to add to my collection. (Warning: Watching craft videos on YouTube can be dangerous for your bank account!)

Inky Play

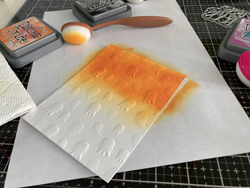
I realized after I got started that Cathy embossed after she laid down the color. I realized it once I grabbed some of my blending brushes and the same three Distress Oxide Inks that Cathy used in her video and got to work laying down the color. I think the way she did it allows you to saturate the paper more easily because it is a flat surface. So next time I will try it that way to see if I notice a difference. I think it was because I was so excited to see the embossed paper, was the reason I did that first.

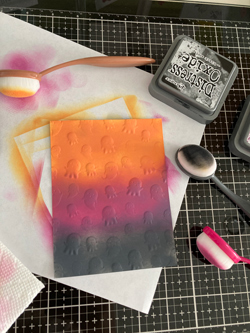
I love how the Distress Oxides rich and vibrant colors totally transform the white cardstock. It’s so beautiful to see it in person.

The black soot color was so smoky looking and perfect for a Halloween card.

I did not have a fan brush that Cathy had to apply the water droplets for the reactive effect so I used a regular brush and the result was not as good. I ended up having a few large spots that I didn’t like. I went over them with ink to try to cover them up but then decided I would address them at the end of the process.

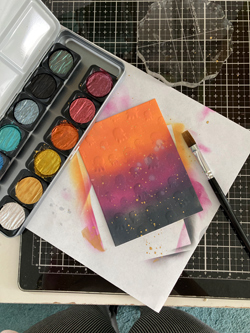
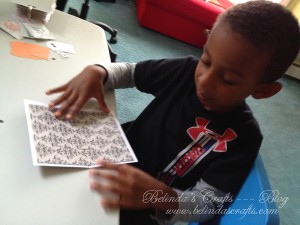
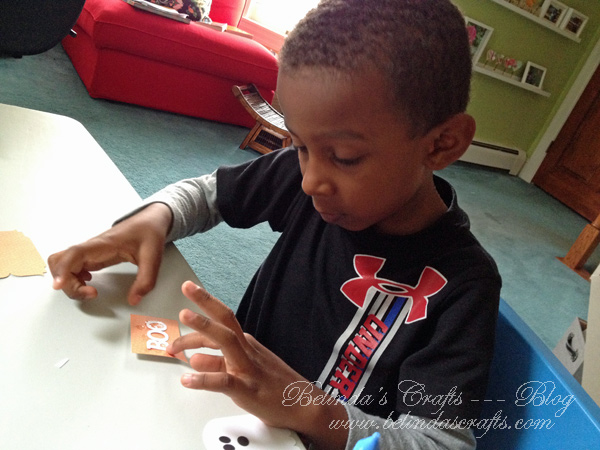
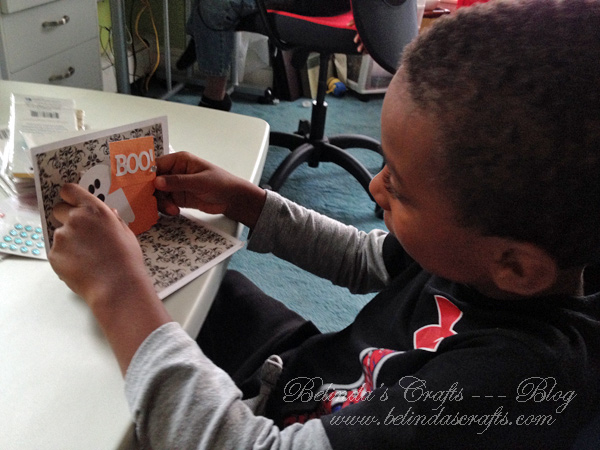
I grabbed my Finetec paint set and used the gold color to splatter on the card and it the result was so pretty. Then I cut out the sentiment in gold and black cardstock. I used my new set of black Stampin Up Dimensionals to raise the sentiment. Then I assembled the card.

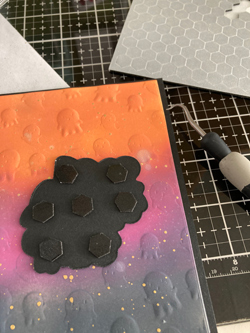
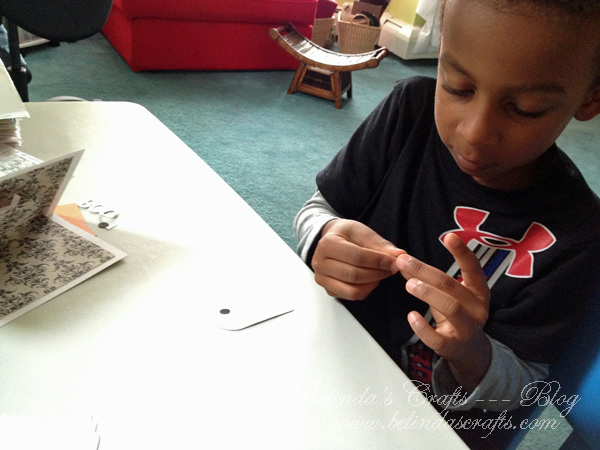
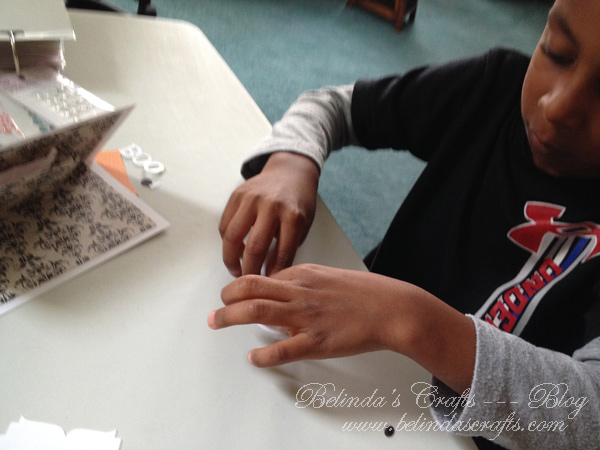
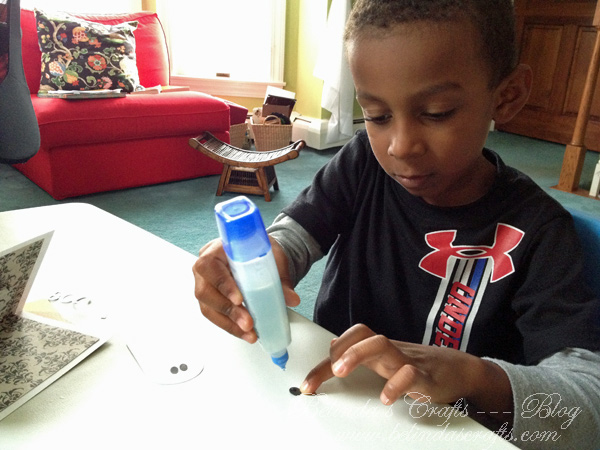
I wasn’t happy about a couple of the large splatters from the water flicks so I dug out some of my sequins. Because I have so many from when they were ‘the it’ embellishment that I never used and well why not?

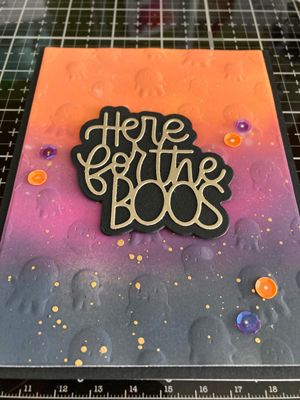
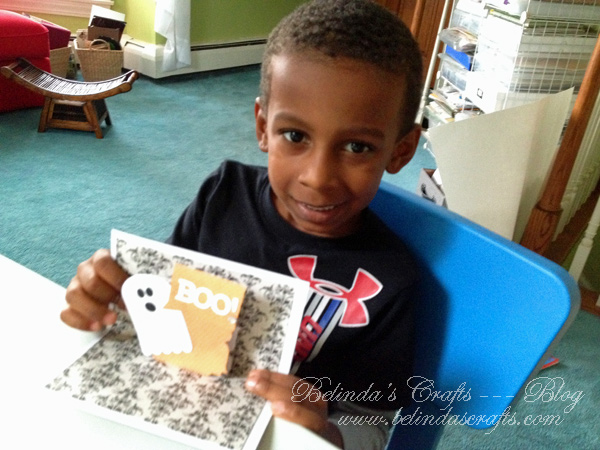
I can’t tell you how much I love this card. There is so much to love – the dimension from the embossed ghost, the layered sentiment, the gold splatters, and the bling, bling sequins.

I decided to make a couple more cards to send to some family and friends after I made the first one. The process always goes more smoothly the more you do it.

Have a wonderful weekend!

Cardmaking with Apollo..(photo heavy post)

Working on the card base.

Working on the card base.

Hello Everyone! Happy Monday! I hope you had a great weekend. I actually had a lot of fun and one thing I wanted to share with you is the joy I had working with Apollo on his first Halloween card.  He loves my Silhouette and although I have only had it a few months, he has picked up quite a bit.  I found this great Halloween card file on the free files at the Silhouette website and picked out papers for two cards – one for him and one for me.

Working with the tiny eyes for the ghost was a great challenge for him.

Working with the tiny eyes for the ghost was a great challenge for him.

I cleared off my little Project Life table and set it up next to my desk near the Silhouette and layed out his supplies.  He really enjoyed putting all the pieces together.

Gluing small pieces of paper were some good fine motor skills practice.

Gluing small pieces of paper were some good fine motor skills practice.

It was so much fun watching him assemble the pieces. Although I did end up helping him with the glue for the eyes and mouth.

Gluing the little things were a little more challenging.

Gluing the little things were a little more challenging.

I like that he wasn’t discouraged at all and kept working to complete the card.

Gluing the word to the speech bubble

Gluing the word to the speech bubble

This was a fun first project from the Silhouette for him.

I love the focus this 6 year old had to complete his card.

I love the focus this 6 year old had to complete his card.

The tricky part was getting the word ‘Boo’ down leaving enough room for the exclamation point.

Assembling it all together and pressing to make sure the glue takes.

Assembling it all together and pressing to make sure the glue takes.


I think it is safe to say he loved his card.

Look my first Halloween card!

Look my first Halloween card!

I am more than thrilled that he has an interest in my crafts and that we can experience some together.

Have a blessed day!

Belinda


New Product Release at Belinda’s Crafts – Halloween card!

New product release at Belinda's Crafts.

This new Halloween card can be found at Belinda’s Crafts.

Well the summer is over and I am back at Belinda’s Crafts to design and develop new products. I took the entire summer off from work and spent it with my family. I was nervous to do this at first because I am just starting this company. One thing I vowed about my company from the start was to learn to manage my time so that I can be productive and also experience the blessings of family.  So my office hours are when they are in school. Last year, I let work spill over at times but this year, I am going to be more strict about my time. It is a work in progress.

Over the summer I bought a Silhouette Portrait machine and will definitely be incorporating this into my products. I enjoy playing around with it and have learned a great deal about it’s capabilities. And sometime in the future I will also be offering digital products at Belinda’s Crafts. More about that later.

On this first Halloween card, I tried to stray away from some of the more traditional colors for witches and incorporate this lovely aqua that has become quite a favorite color of mine to work with as of late.  I even pulled out my Tim Holtz tiny attacher to attach the sentiment to the card.  I am always looking for an excuse to staple something.

Well I am going to go back to work but will be sure to share more soon.

Have a blessed day!

Belinda

What’s on Your Workdesk Wednesday – #174

Hello everyone!! It’s that time again.  Snooping all over the globe!

Well my first photo is of a thank you card I literally created this morning after feeding the boys breakfast.  My son Nicholas celebrated his ninth birthday this past weekend. But when he came out of school on Monday, he was so happy and was wearing a t-shirt over his clothes with all his classmate’s birthday wishes written all over it. She took it upon herself to celebrate is birthday with his classmates and provided the t-shirt and had the kids sign it. I thought that was really sweet and wanted to make her a card.

A thank you card I made for my son’s teacher.


The funny thing is that I had limited time (10 minutes before drop off) and I pulled this design out of my head.  But when I am working on cards for my shop, oh I can’t  decide very fast. Some days it’s like watching paint dry. ha ha.


Some more Halloween cards I am working on for my shop.

So far it has been a productive week for me. I just wrapped up these Halloween cards for my shop.  You can see a new My Minds Eye  paper pad I just receivedin the mail and some pretty paper cut with a Dynamics die.  I paper pierced my little girl and colored her with my Copics.

Here are my final cards.

Well I could on but I feel a snooping urge coming on so I am going to get started. Thanks for stopping by my desk. I really enjoy the comments you all leave.

If you haven’t learned about this amazing creative journey you can take every Wednesday, then head on over to Julia’s Stamping Ground and you will find desks from all around the world for What’s on Your Workdesk Wednesday.

Have a blessed day!

Belinda


Follow

Get every new post delivered to your Inbox

Join other followers: