 Hello, how are you? Despite some plumbing issues that we are dealing with at the current moment, I am actually feeling great. But repairs goes with owning a home and I have no regrets. I love our home and enjoy renovating it with my husband. It’s been a lovely journey watching it evolve as well as our tastes.
 But I digress so let’s talk craft stuff. As you know, I have curbed my craft budget and spending habits so I don’t feature as much stuff on this site. But I recently came across a tool I thought I could use quite nicely for some projects. I also don’t mind spending money on tools because they can be used again and again.
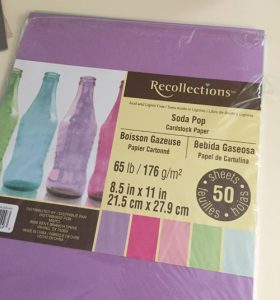
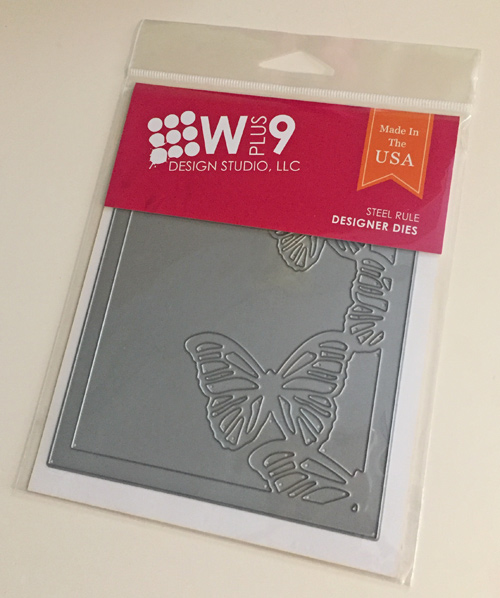
The Product: WPlus9’s Large Butterfly frame die
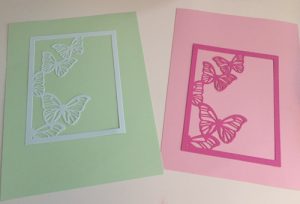
For this test, I used the WPlus9’s steel die with two types of paper. I used the Recollections’ paper pack called Soda Pop. I also used Georgia Pacific Cardstock. Although the Georgia-Pacific did not work well the Reflections worked smooth like butter. The beauty is that out of one 8 1/2 x 11 sheet I was able to cut one full die frame and then use the remaining as a contrasting background for a card. The nice thing is that the colors all coordinate quite nicely. So less time hunting for colors that go together. Then there is still a small piece of paper left that I thought would be great to use to punch out coordinating tiny butterflies with one of my Martha Stewart punches. I laid out the frames on the coordinating colored paper scraps but could easily cut them down and stamp a sentiment and stick them on a card.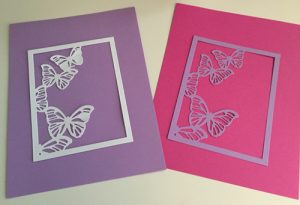
My thoughts:
I own a load of dies and some I like and some I rarely use. But let’s talk about the die.
The Design:
What I like:
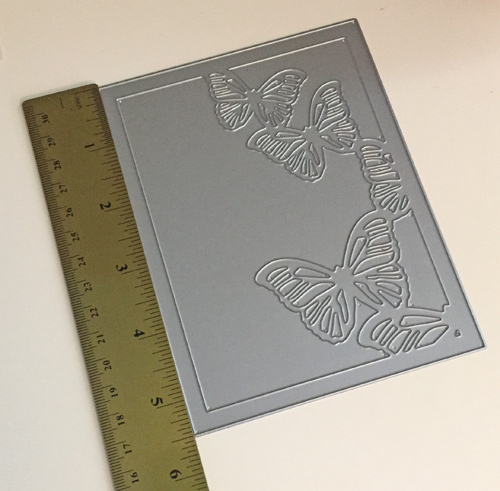
- The fact that the butterfly frame is a standard A2 size (4 1/4 x 5 1/2) so it can rock the front of a card.
- The steel is thick and not flimsy so it produces a nice clean cut.
- The framing of the butterflies leaves room for sentiments which is very important if you want to make cards.
- They include a lot of holes so that if your paper should stick, it’s very easy to use a pin to poke them out without tearing the paper.
- The die was made in the USA. It’s really great to know it’s made here and reduces our carbon footprint as well as provides jobs in local factories.

What I don’t like:
- I tried using it with the inexpensive Georgia Pacific cardstock from Walmart and it ripped. So you will need to try out a few types of paper to see which works for you.
- That even when I used paper that worked, I had to run it through a few times to ensure all of the detail in the butterfly wings were cut.
Overall:
I love this die and see that it will be a versatile tool for my projects moving forward. I like the sturdiness and I found that the oh so inexpensive paper packs by Recollections that you can buy at Michael’s works beautifully with the die. The paper pops out easy and the cost per sheet is so inexpensive, you can make a large number for a few dollars. I love that I can use it with my sentiment stamps and custom one’s that I design on the computer. If you look at the first set of photos the white one on the left was cut using the Georgia Pacific and it didn’t cut out all of the butterfly detailing. But all of the other ones were cut using the Reflections paper.
Product reviewed: Large Butterfly Frame by WPlus9
I love using mine and will share some finished cards with you soon.
Have a blessed day!
Belinda

 I decided it would be great to cut out some Valentine’s accents since January seems to be rushing by so fast. I picked some cute files that I owned and right before cutting it I removed the pink box so as not to create an additional cut.
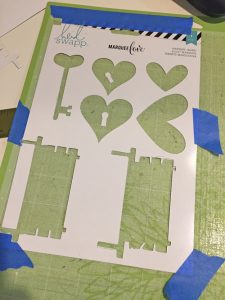 Do you see how it began cutting below the logo? The paper was thick enough and with the coating, I could have used the hearts and key as a stencil to create additional art.
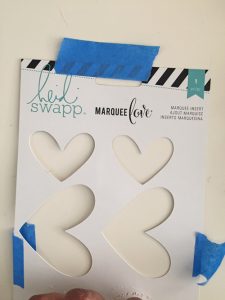 I used the second one to create more hearts. Let’s face it, you can never have too many hearts.
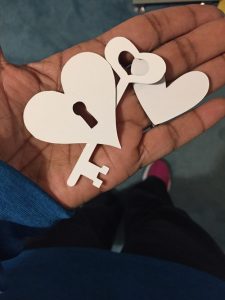
 I laid them on a colored cardstock so you could see them cut out. I am thrilled with how they came out and can’t wait to use them on some cards and scrapbook pages.
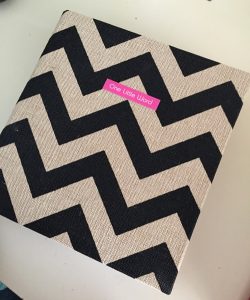 I’m continuing to use the same album that I used last year because I feel like there’s no need to buy a whole new album when there is plenty of room and I really liked working in this size album.
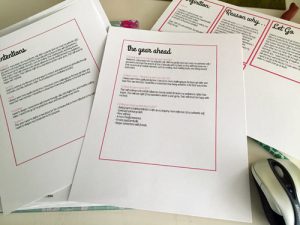 The word that I selected for this year is ‘authentic’. I chose the word authentic because I feel it is something I dance around from time to time in my life. It seems like an easy thing to be, yourself, but so many things influence the way we present ourselves. From the desire to be perceived in a wonderful way to habits we create for ourselves based on our experiences. I want to explore how I can become more authentic in all areas of my life and witness my life bloom from this shift.
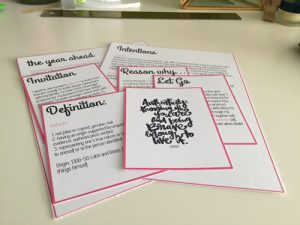 I used my Silhouette again to design my own cards to complete this months’ prompts. I have been doing pretty good this month putting my word in the forefront of my mind.I’ll be back next month to reflect on my progress and share my February prompts.
 Hello! As promised I have been thinking of new crafty content for this website and this is a first of a new series called “This to That” that I will be featuring here. One thing I love to do is think up ways to repurpose items in my craft room. So I thought I would feature some of these fun projects on the blog. My hope is to inspire you into rethink the way you look at things in your home.
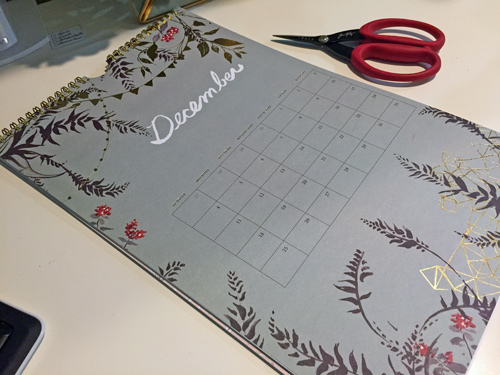
 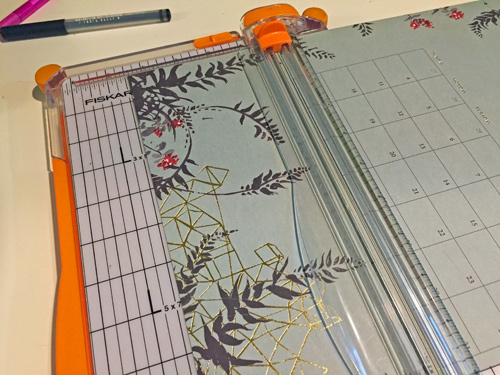 Today’s ‘This to That’ occurred to me a few weeks ago when I was taking down my wall calendar in my craft room. I really love the gold inlay on these botanical designs. It’s pretty hot right now in the paper crafting arena right so I was hesitant to throw it away.
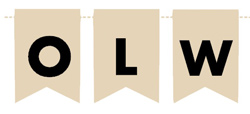
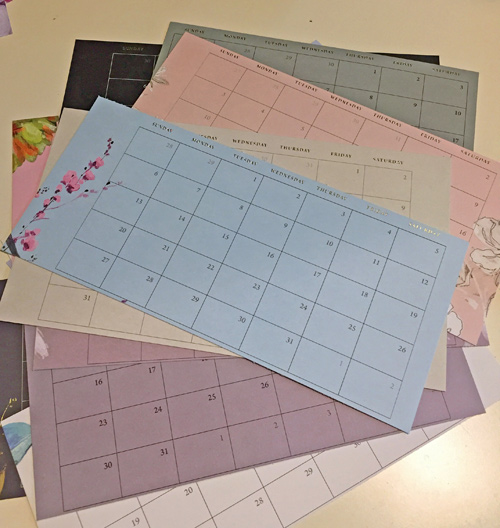 So I decided to cut up the calendar and repurpose the pages. I first cut off the tops and bottoms to be used for some paper crafting project. Then I cut the Monthly titles to be used for a scrapbook page or one of my art journals. The font is really pretty and the size of them are great. I have not used the calendars but they could be repurposed too since they are no longer associated with a certain month.
 The high-quality paper used on this calendar begs to be used on a card base to make lovely cards and the thickness is perfect to create some pretty bookmarks.
 So that is just what I did, I cut a strip of the calendar and I used some washi on each end to reinforce it but also to enhance the design for the bookmark. Then I pulled out a digital image I hadn’t colored and grabbed some Copics. I also found a sentiment stamp and decided to make a card to send to a friend.
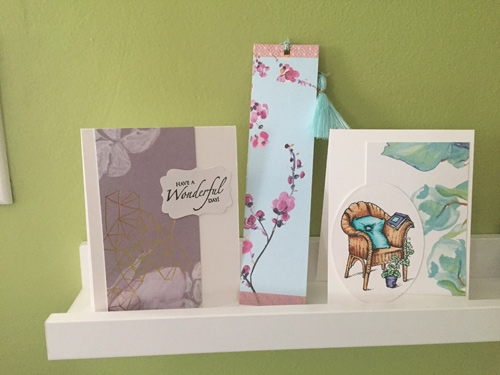 No one would guess that this paper was hanging on my wall for a year!So don’t throw away your 2016 wall calendar just yet, you might have some pretty cards or bookmarks just waiting to be created!!