![]()
I bought this WeRMemory Keepers Tab punch board to use in my One Little Word album and to create tabs for my color inspirations book. But when you go on YouTube, you find all sorts of talented people that take one tool meant for one task, and used it for something different. So when I saw the board being used to create these mini envelopes I just had to give it a try.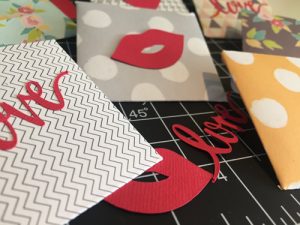 I decided I wanted to make some for Valentine’s Day so I quickly searched my Silhouette files for cute cut files and resized them to fit my mini envelopes.
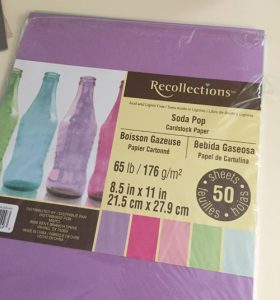
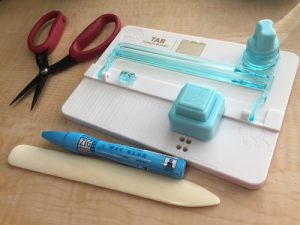 I used some 6×6 paper pads, my scissors, my Zig glue stick, bone folder and of course the tab punch tool.
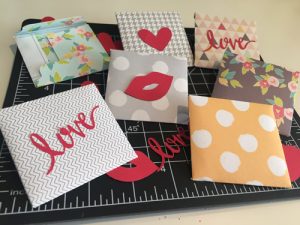 They end up being the cutest 2×2 mini envelopes. I love how the lips and love looked on the paper.
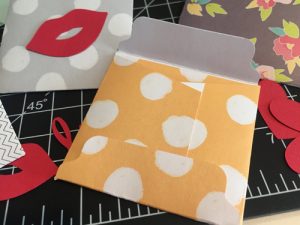 This is a back view of the envelope. I plan on placing a little note inside them for my intended Valentine! So the next time you pick up a tool, don’t hesitate to look online for additional ways to use them.
Happy Valentine’s Day!
 As my collection of pencils grew, I started to get frustrated with the provided storage. I also had an adorable elephant bag where I began collecting my pencils. But when it came time to color, I spent too much time digging around to find the colors I wanted and I also found that I spilled them out of the tin on a regular basis. Aarggh…
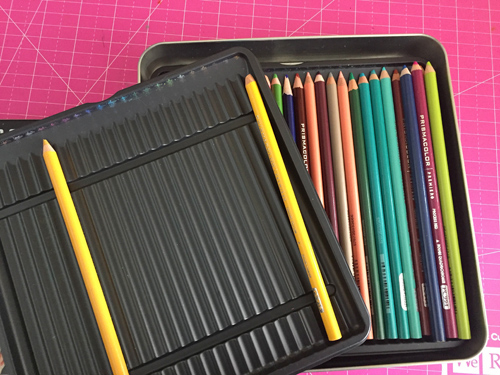 Enter Amazon…my go-to for researching and often purchasing products. I saw so many options but I didn’t want to spend a lot of money. But I wanted something pretty (you know me!). So
 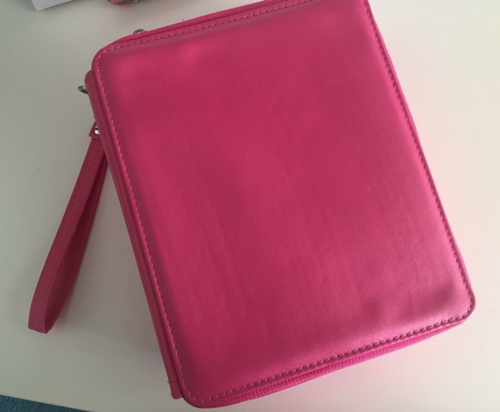 I liked this case because it can hold up to 168 pencils and it had a handle to carry it. As a crafter, we need any help we can get to transport our stuff to craft sessions is a major plus. I also like that it has 4 different sections separated by zippers. I can open one or all and easily access my stuff.
 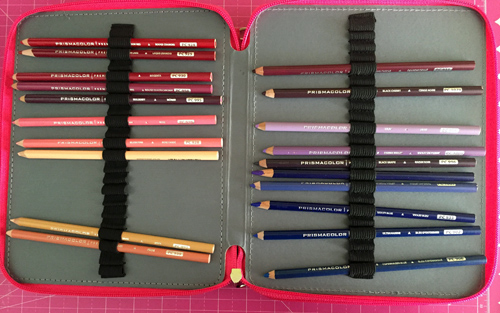 The great thing is that I organized them in order of my color chart so I will always know where to find my colors. Every color has a place and it corresponds to the chart.
 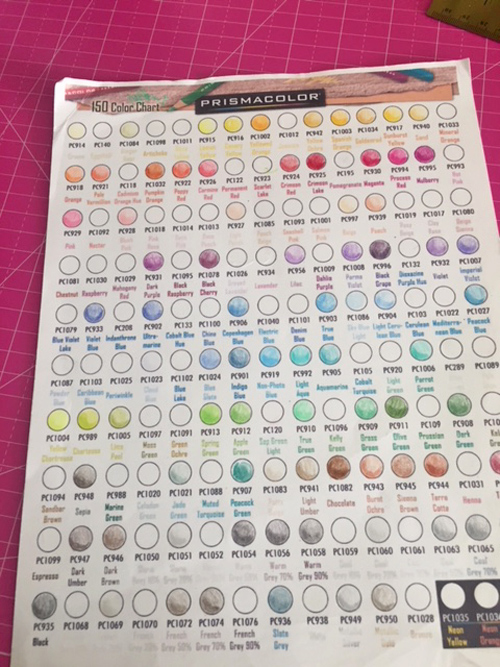 I put it to use and colored up an image in one of my coloring books and it made the process so much fun and no stress about finding colors made it go by smoothly.
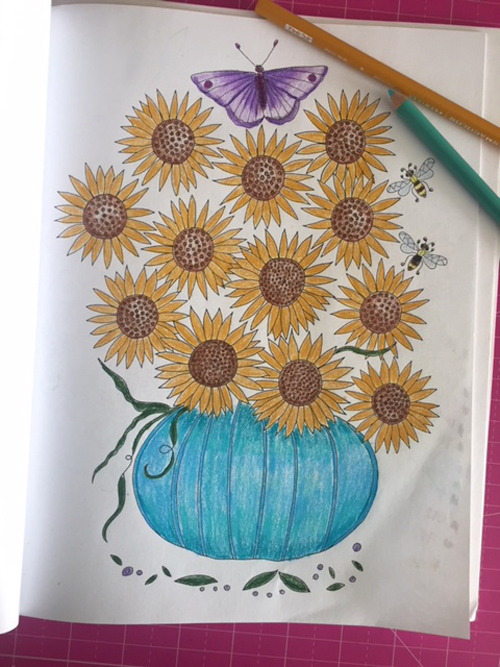 Now I can focus on exploring techniques and filling my coloring books with color!
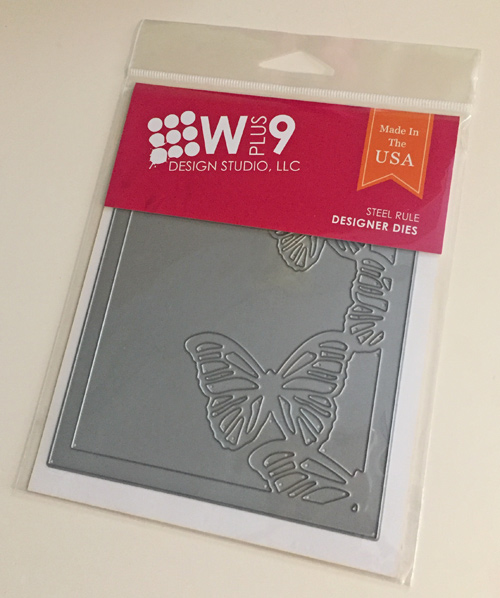 Hello, how are you? Despite some plumbing issues that we are dealing with at the current moment, I am actually feeling great. But repairs goes with owning a home and I have no regrets. I love our home and enjoy renovating it with my husband. It’s been a lovely journey watching it evolve as well as our tastes.
 But I digress so let’s talk craft stuff. As you know, I have curbed my craft budget and spending habits so I don’t feature as much stuff on this site. But I recently came across a tool I thought I could use quite nicely for some projects. I also don’t mind spending money on tools because they can be used again and again.