on my desk…
Hello crafty ladies! It’s that time again! For those of you that aren’t familiar with WOYWW (What’s On Your Workdesk Wednesday), head on over to Julia’s Stamping Ground and you will find desks from all around the world where we get to snoop on other crafter’s desks.
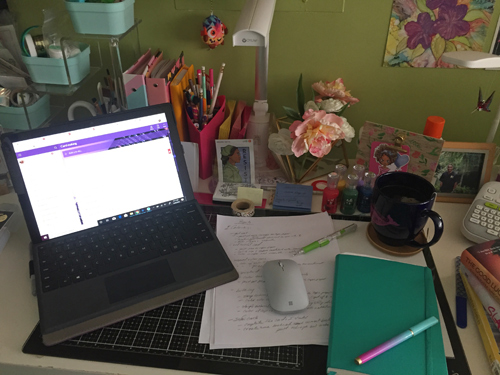
Today I pushed aside crafting so that I can plan out my projects so that I won’t get that overwhelming feeling that tends to settle in around this time of year. I usually start stressing about making products for my shop, making christmas cards for friends and family etc. So I use an online app that syncs with my phone so I can see what needs to be done and when. First, I wrote out a list on paper of new projects, then broke them down into smaller tasks. Now that that is completed I am transcribing them into my app.
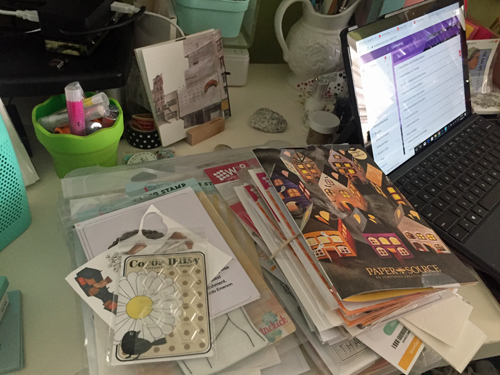
The very first thing I did was revisit some of my newer products some that have never been used before plus some old faithfuls and did some prep work of pairing items to use on projects. That way when it comes time to work on each, it will make it that much easier to begin. On the top you see the latest catalog from Paper Source. I rarely buy their pre-made craft items but I draw inspiration from them to create my own on my silhouette or with my stamping products. There is also an old Cocoa Daisy honeycomb stamp that will go well with some of my new project ideas so I added it to the pile.
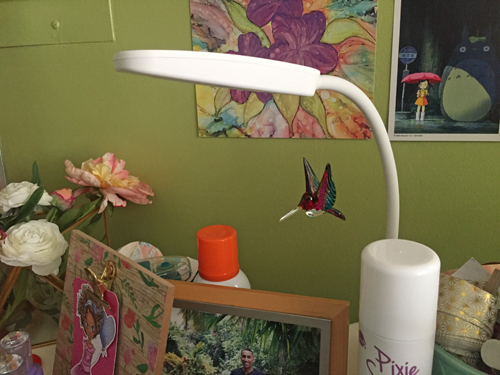
I couldn’t help but share a picture of my little glass hummingbird that I purchased this summer while on family vacation. I love hummingbirds so much. They amaze me with their speed and exquisite colors. I didn’t know where I was going to put it and finally I thought I could hang it off my lamp on my desk so I can see it everyday. The cool part is that when the light is on, you can really appreciate the multicolored glass.
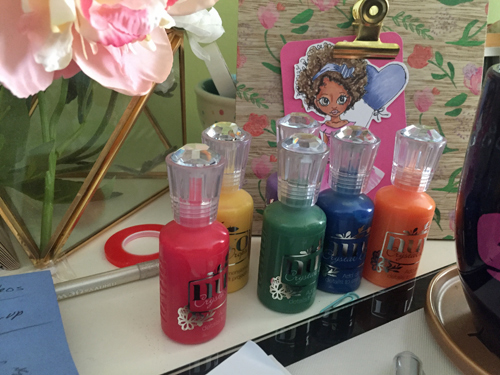
Lastly, I wanted to share my newest color of Nuvo Drops. I have quite a collection now and these are some colors I felt were missing. I got them in the glossy version which dries with a brilliant shine. The red and green will come in handy for Christmas cards. I can’t wait to use them. Oh and the three books you saw on my desk are books I am trying to finish within the next two weeks because I am going to a bookfair and will have the opportunities to meet these authors and possibly get autographs!!
Well I am off but will pop around over the next few days to see what you ladies are up to.
Have a crafty day!
Belinda

 Good morning my crafty WOYWW friends! For those of you that aren’t familiar with WOYWW (What’s On Your Workdesk Wednesday), head on over to
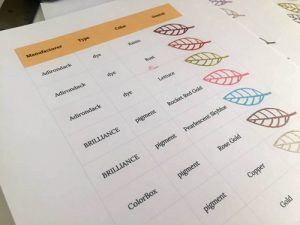


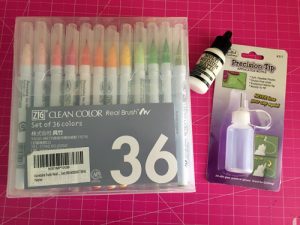 I also bought Ranger’s Multi Medium Matte glue and this precision tip container that I saw on a YouTuber’s channel. For those of you that use Glossy Accents, you will appreciate this precision tip. I don’t know how many times the glue clogged the tip and I couldn’t get the blasted stuff out. So I quickly replaced the tip of the Multi-Medium Matte with the precision tip and voila – problem solved! So I will be buying another for my glossy accents.
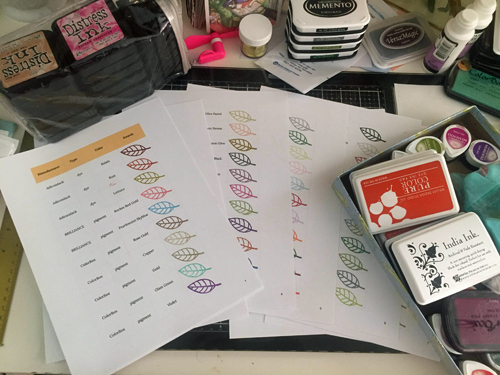
 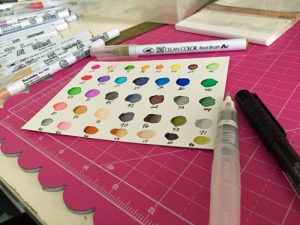 When it comes to craft supply organization, Jennifer McGuire, an amazing crafter, has got it down to a science. So I watched one of her videos to see how she organized her markers. So in order to capture each color and their variations when water is added, I made a swatch sheet and wrote the corresponding number below each color. Then I used a hole-punch and punched out tiny circles to place on the tips of each marker for quick access. I then used the multi-medium matte to adhere them to the top of each marker and once that was dry, I applied glossy accents to give them a lovely seal and shine.
 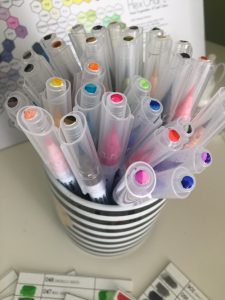 In Jennifer’s video, she didn’t say what to do with the remaining color swatch but I decided it was the perfect size and slid it into the back of the marker case. So now I have two references and this one I can take out and look at all of the colors side-by-side in one glance to see what colors I want to use.
 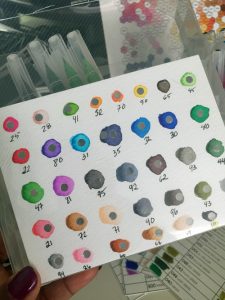 I love organizing supplies as much as I love purchasing them so this was really a fun activity. I am going away in a little over a week for my annual girlfriend creative escape and I can’t wait to bring these markers to play with them.
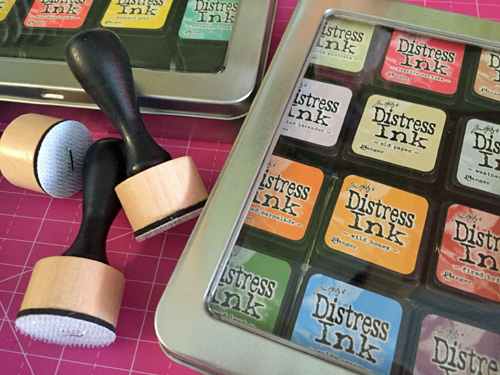 Hello! One thing about running a small business with an employee of one, me, is that I have been learning ever so slowly how to incorporate more organizational systems to keep things moving. Sometimes its fun to come up with my own solutions, other times, why re-invent the wheel? There are great storage solutions out there so I took the opportunity during one of those big online sales at Joanns and bought these cute storage tins that are made to hold the mini Distress Inks.
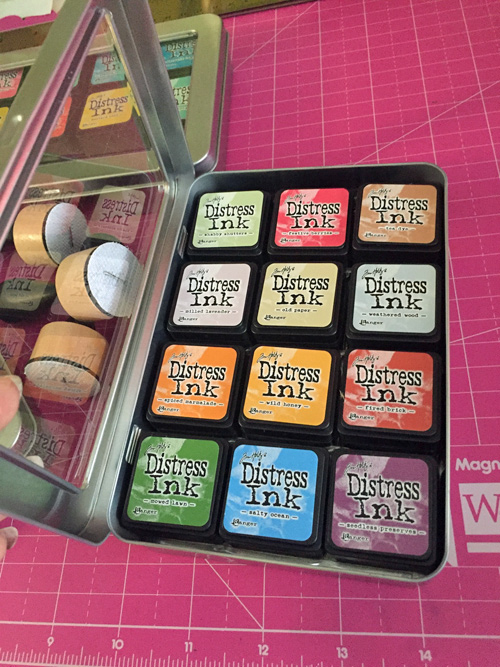 The clear top is great to see quickly what colors I have and they stack nicely for storing.
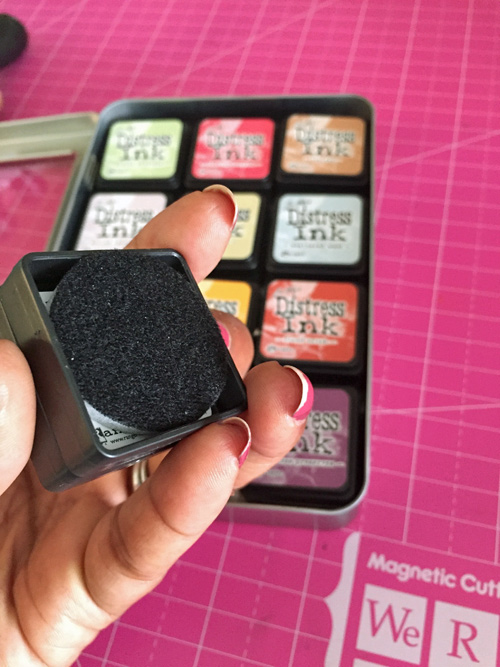
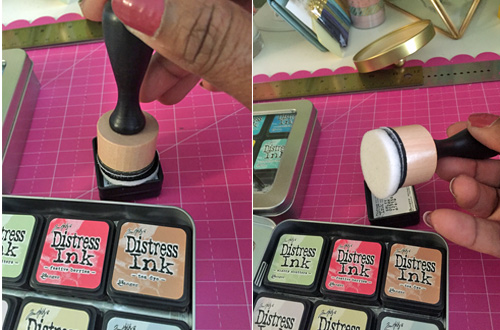 When I am ready to use them I just turn the ink upside down and press down lightly and the foam sticks to the velcro and off we go!
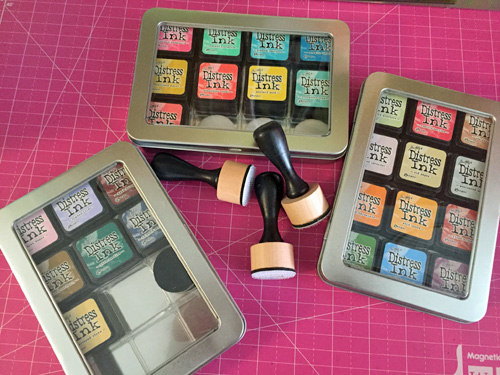 One more look at the cases so you can get an idea how compact they are. I like these more than my larger ones because I can see everything at a glance more quickly but if I use a certain color more I may either buy a re-inker or just get the larger ink pad. For now, this works nicely.