 Good morning my crafty WOYWW friends! For those of you that aren’t familiar with WOYWW (What’s On Your Workdesk Wednesday), head on over to Julia’s Stamping Ground and you will find desks from all around the world for What’s on Your Workdesk Wednesday where we get to snoop on other crafter’s desks.
Well, stop the search parties because I have once again resurfaced to play. The last time I participated in WOYWW was #470!! Since then, I had a fantastic summer and Hawaiian vacation to really crank things up. I am a self-employed crafter and this was the first summer I decided to stop putting so much pressure on myself and took the summer off to be with my boys and dear husband. So that’s what I did, so with it came me abandoning my blog too.
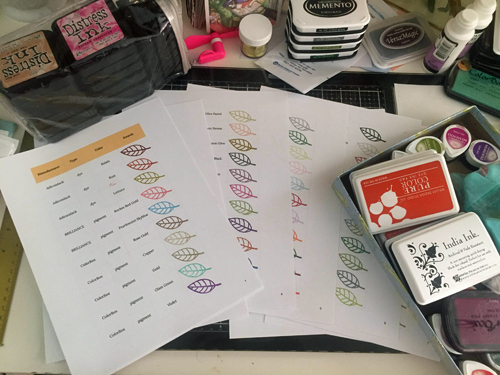
As both my boys are both in school again, today is my first day back to work and boy is it a bit crazy. I hired my youngest son, yesterday to help me create an inventory of all my stamping inks. Let’s just say that I have been crafting for years and have amassed quite a collection. So the first thing I did was give my son specs for the creation of a spreadsheet so that once I establish this system, I can maintain moving forward.
Because let’s face it, we all know the feeling of ordering some craft product only to find out days or weeks later, that you already own it!! I wanted to track the manufacturers, the type of ink, the color and how many I own, also have it tell me if I need to re-order any.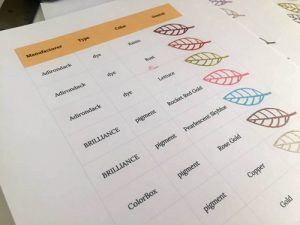
Once he created the spreadsheet, I duplicated it and removed some of the fields for printing purposes and added a ‘swatch’ column so that I could visibly see my entire inventory. I found a fun leaf stamp and got to stamping. Boy did it take time. I had no idea how many ink pads I own. I am extremely impressed that almost all of them were still juicy. I have some of them for so many years, I think some of the companies might have even gone out of business by now. But the fact that they are still moist is surprising.
But now I am left with an awesome system to help me when I am creating products. I can find just the right color and type of ink to use in minutes. So it was well worth the hours to create it.

I will leave you with one photo from our vacation and then later I will write a proper post to share some more of the fantastic details. I hope you all are well and I look forward to re-connecting with you talented WOYWW friends. Keep craftin!!
Belinda

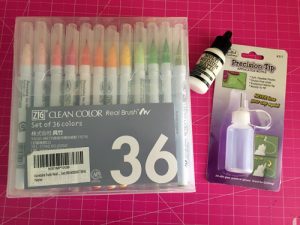 I also bought Ranger’s Multi Medium Matte glue and this precision tip container that I saw on a YouTuber’s channel. For those of you that use Glossy Accents, you will appreciate this precision tip. I don’t know how many times the glue clogged the tip and I couldn’t get the blasted stuff out. So I quickly replaced the tip of the Multi-Medium Matte with the precision tip and voila – problem solved! So I will be buying another for my glossy accents.
 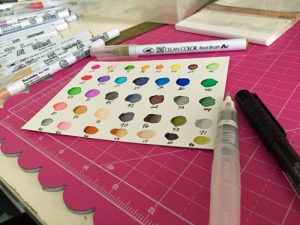 When it comes to craft supply organization, Jennifer McGuire, an amazing crafter, has got it down to a science. So I watched one of her videos to see how she organized her markers. So in order to capture each color and their variations when water is added, I made a swatch sheet and wrote the corresponding number below each color. Then I used a hole-punch and punched out tiny circles to place on the tips of each marker for quick access. I then used the multi-medium matte to adhere them to the top of each marker and once that was dry, I applied glossy accents to give them a lovely seal and shine.
 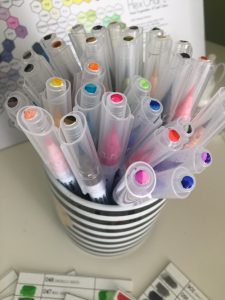 In Jennifer’s video, she didn’t say what to do with the remaining color swatch but I decided it was the perfect size and slid it into the back of the marker case. So now I have two references and this one I can take out and look at all of the colors side-by-side in one glance to see what colors I want to use.
 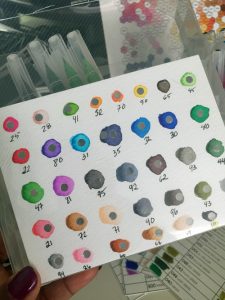 I love organizing supplies as much as I love purchasing them so this was really a fun activity. I am going away in a little over a week for my annual girlfriend creative escape and I can’t wait to bring these markers to play with them.