 Hello!! It’s Silhouette Sunday and I have been playing in my craft room for hours today and just enjoying the sound of my machine making magic while I assemble these beauties and select papers for other projects. In fact, I was having so much fun, that I am just now sitting down to share with you my project.
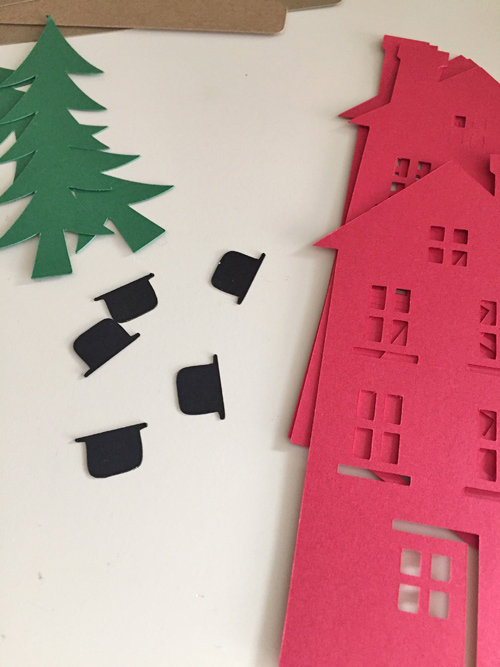 With Thanksgiving complete, I thought I would start on my holiday cards and fun home decor projects for the winter months. Today’s cut file came from the Silhouette Design Store which if you haven’t heard, all designs are 50% off for a limited time. That’s a steal!! So I am loading up on files in my wishlist.
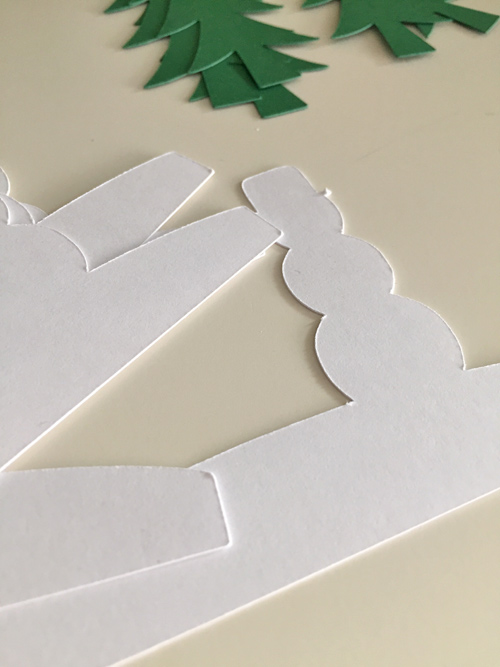
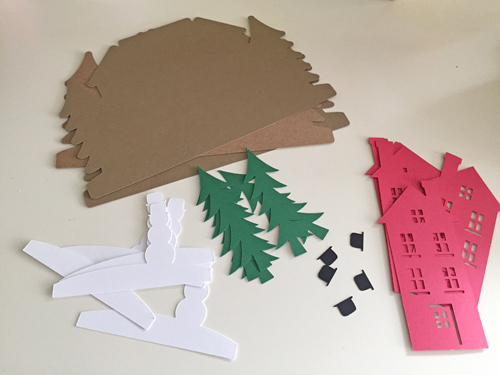 I was attracted to this card because it is a shaped card. I like how it’s shape silhouette’s the scenery. I also like that it requires very few color papers so I could cut and quickly get to the assembling.
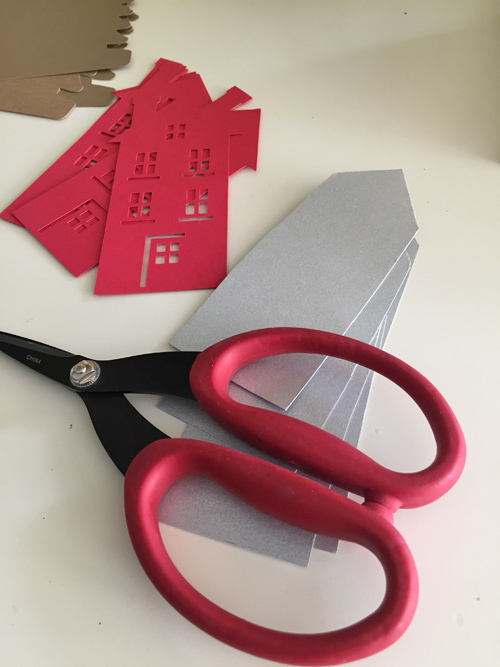
I decided I wanted something between the card base and the house so I hand-cut some silver paper to put behind each house.
 The picture doesn’t do these cards justice. They are so cute. I hate to part with them!!
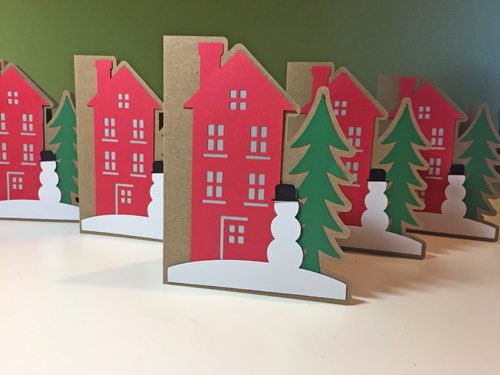
Now I must focus on my football game! Hope you had a great week and I will see you next Sunday to share another cute project.
Happy crafting!!
Belinda

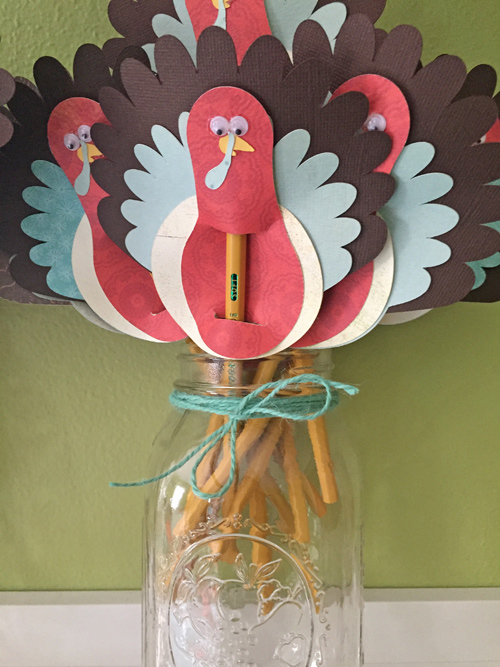
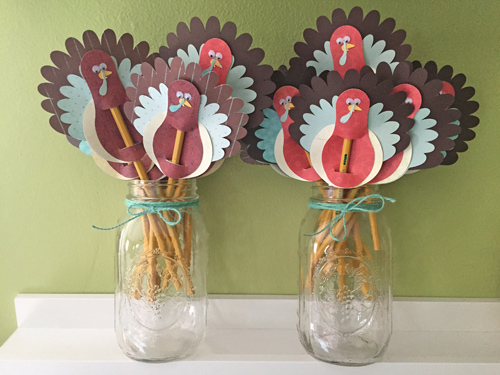 I will be delivering them to Apollo’s class tomorrow so they have a fun surprise before heading off to the Thanksgiving holiday. I will be back next week to share with you another Silhouette. I have amassed so many cut files and created so many of my own, that I have ample amount to share.
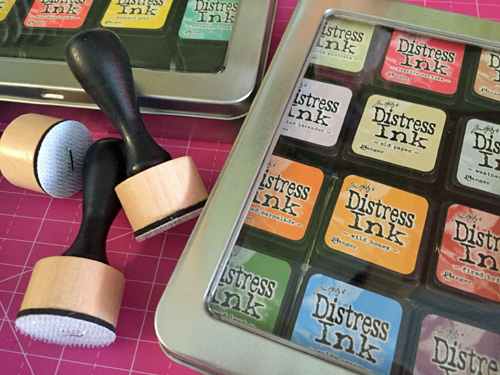 Hello! One thing about running a small business with an employee of one, me, is that I have been learning ever so slowly how to incorporate more organizational systems to keep things moving. Sometimes its fun to come up with my own solutions, other times, why re-invent the wheel? There are great storage solutions out there so I took the opportunity during one of those big online sales at Joanns and bought these cute storage tins that are made to hold the mini Distress Inks.
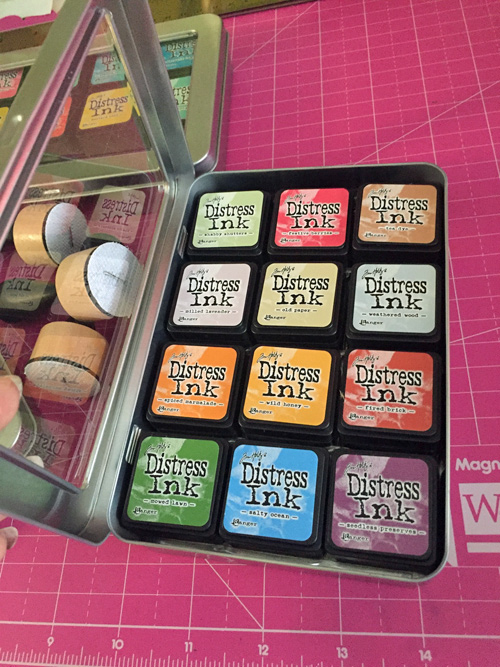 The clear top is great to see quickly what colors I have and they stack nicely for storing.
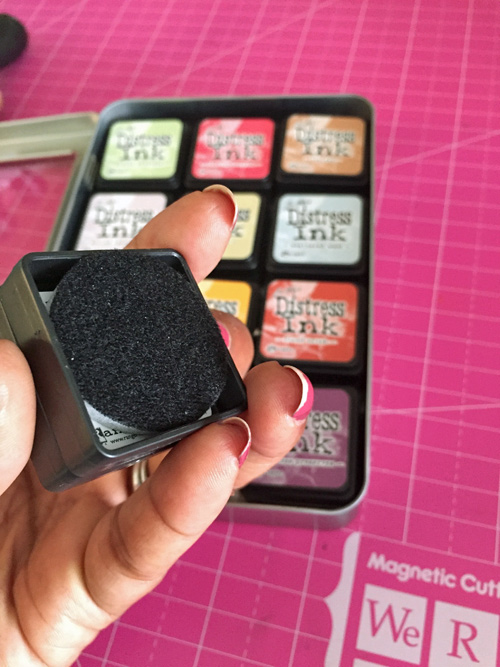
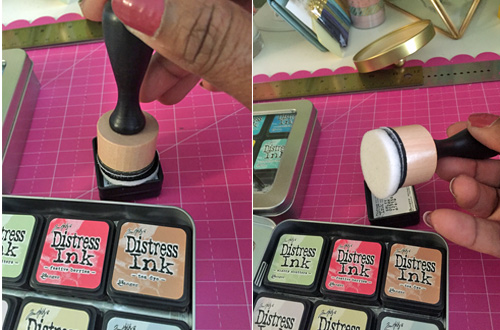 When I am ready to use them I just turn the ink upside down and press down lightly and the foam sticks to the velcro and off we go!
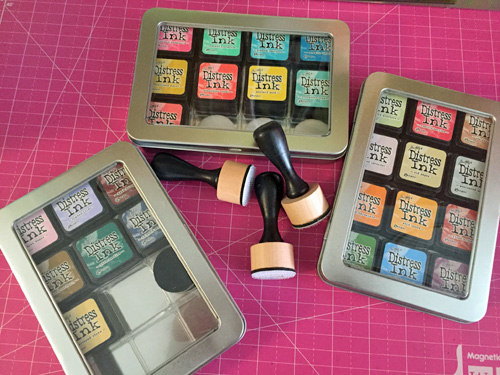 One more look at the cases so you can get an idea how compact they are. I like these more than my larger ones because I can see everything at a glance more quickly but if I use a certain color more I may either buy a re-inker or just get the larger ink pad. For now, this works nicely.
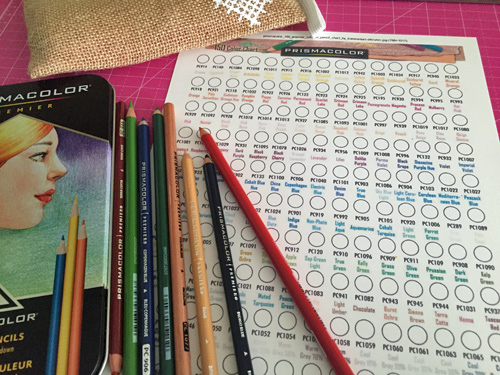 To be clear, this isn’t my first time using my colored pencils but this is the first time I am approaching them with a new curiosity. I have had this Prismacolor Premium 12 pack for a few years now. However, I have recently been inspired by the colored pencil art I am finding online. I think I will always favor my Copics and their amazing blending goodness but I am curious what I might be able to create using colored pencils. So on my recent trip to Michael’s I purchased a few additional color combinations. I thought I needed a few more colors since the coloring book Leao gave me for my birthday, might best be done with pencils. I would love to use my Copics but fear they will bleed through the pages.
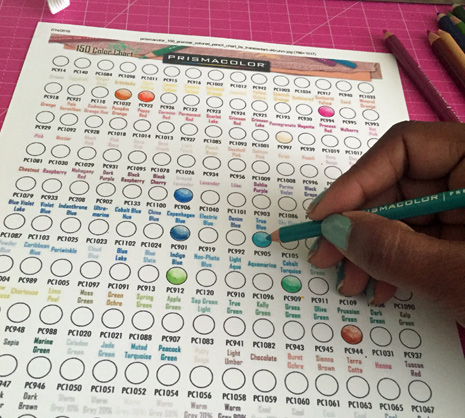 I began coloring in the colors I have this morning. I am going to head over to YouTube for some color pencil tips and I will be sure to share my progress.