![]() Good evening! I’m going to bed but I’m really trying to be good about coloring and posting. I managed to color but the posting part not so much so here we go.
Good evening! I’m going to bed but I’m really trying to be good about coloring and posting. I managed to color but the posting part not so much so here we go.
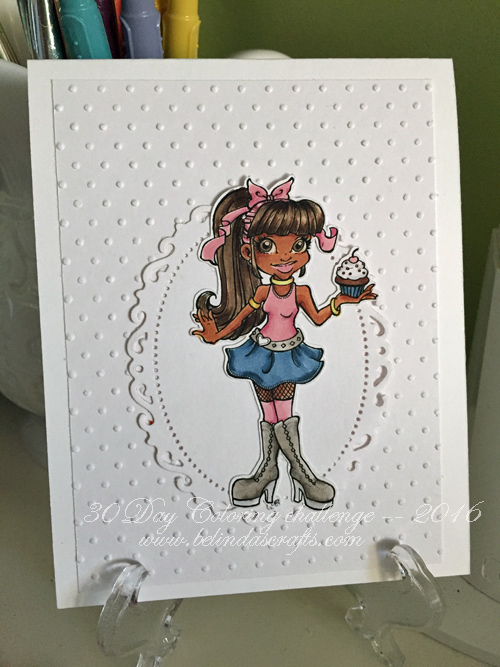 Here is my completed card with this cute image. I love the pretty ribbon in her hair. I then started work on another card. I took a Power Poppy digital stamp and added a sentiment to it in Silhouette Designer Edition. I printed it on Copic paper and started coloring.
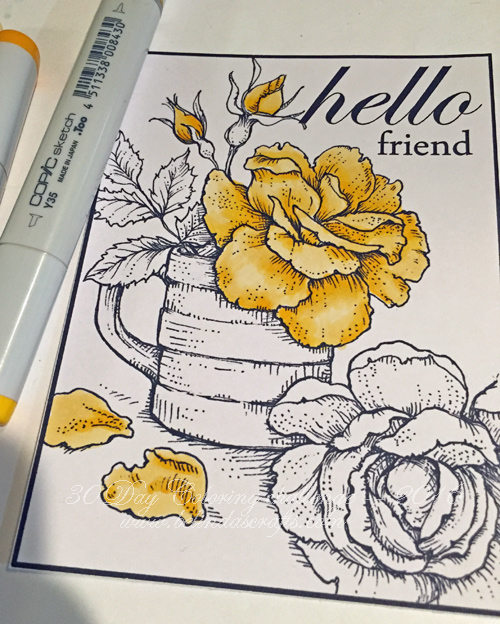
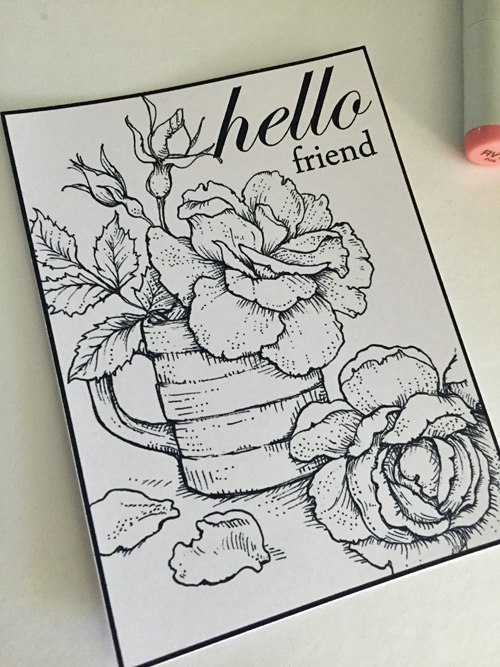 I didn’t get that far but will make sure to finish coloring it tomorrow and make another card.
 Ok, I’m yawning. I’m going to bed. I’ll be back tomorrow.
Good night.
Belinda


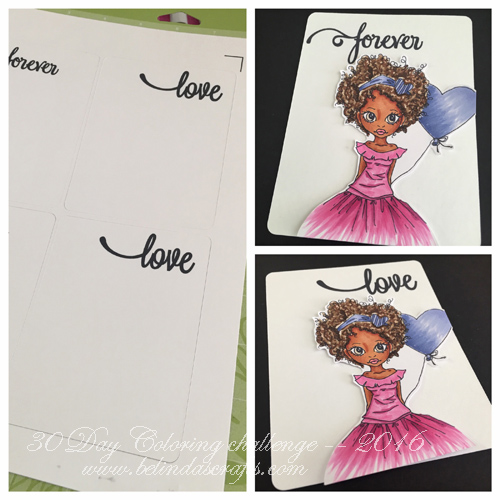 So I pushed the imaged flush right and cut off a little more of the balloon to line up with the right edge of the card. Problem solved!! I also designed two sentiment designs (love, forever) on my Silhouette and played around to ensure the digi when cut out, would fit nicely with the word. I used the print and cut feature on my Silhouette (yes I use a Cricut cutting mat – don’t judge) to cut out the cards and then placed the image on each to see which sentiment I would use for this card.
 I ended up using the ‘Forever’ sentiment and matted it on American Crafts ‘Everyday’ patterned paper.
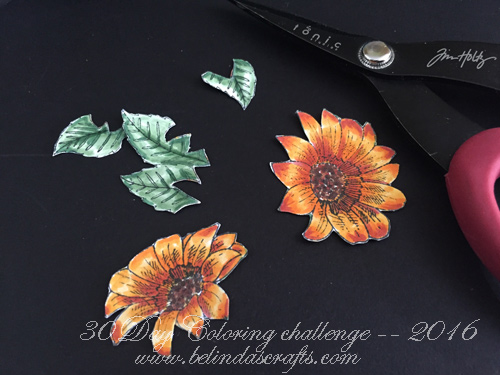 I finished coloring a second pair of the flowers and then cut them out as well as the leaves.
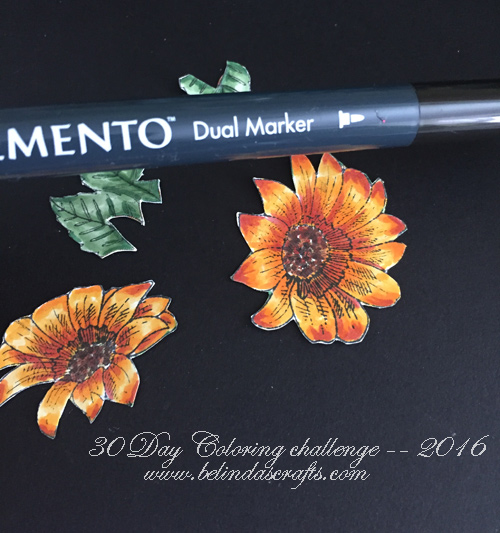 I then used my Memento pen to go around the fresh cut edges for a more finished look.
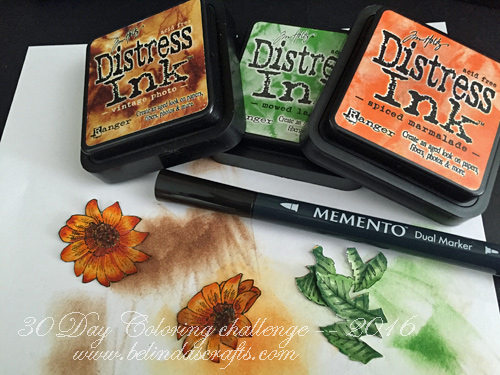 Inspired by Kathy, I pulled out my distress inks and added some more color. Using different color mediums on a project can really bring them to the next level. They softened any hard lines on the flowers.
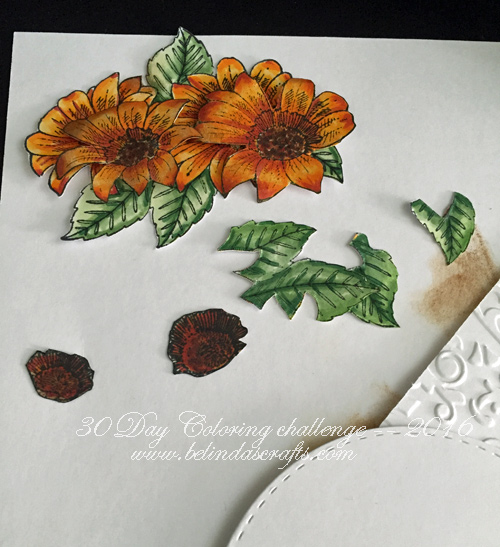 I colored a third flower center so that I could have three levels of dimension on the final card. I also embossed some cardstock and diecut a stitched circle on my Cuttlebug. I also played around with cutting out several petals on for the top layer to make the flower look more dimensional and curled the petal edges so they would raise nicely.
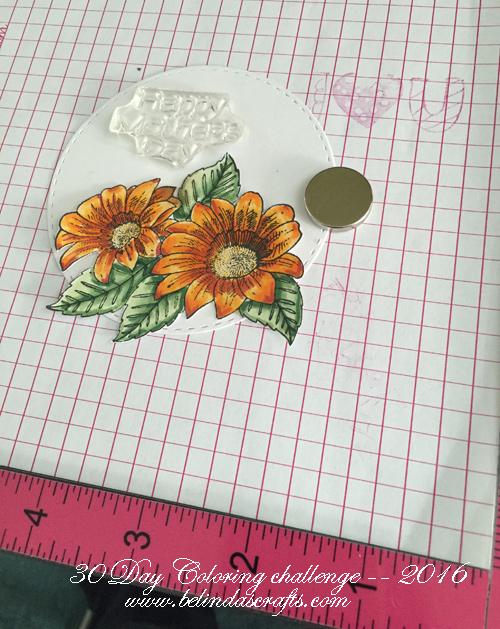 I used my MISTI to stamp a new sentiment I just bought this week at Michael’s from Hero Arts. I layed out the circle like I wanted it and positioned my stamp right where I wanted it to go and then inked it up.
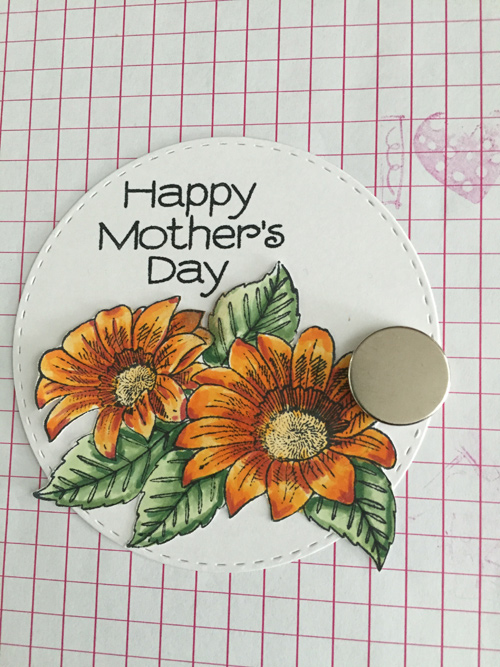 It came out great. I love this tool because it takes the nerves our of sentiment stamping for me. Nothing like ruining a pretty project with a messed up impression.
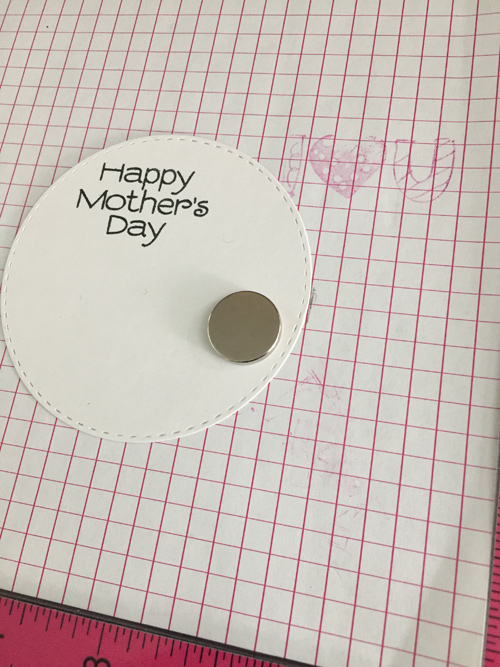 While I had the stamp on the MISTI, I inked up and stamped another sentiment so that I could make another card soon.
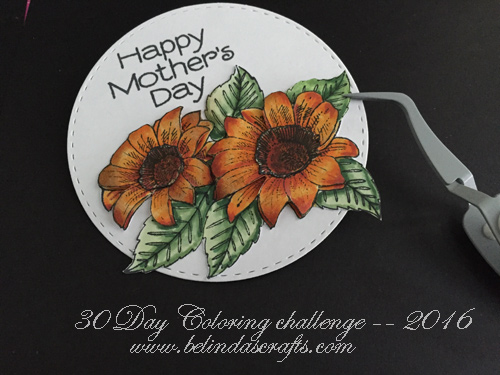 You didn’t think I used any of the leaves I fussy cut did you? Well I did. I placed one more on the right side with dots and my tweezers. I love the way it looks with this extra leaf.
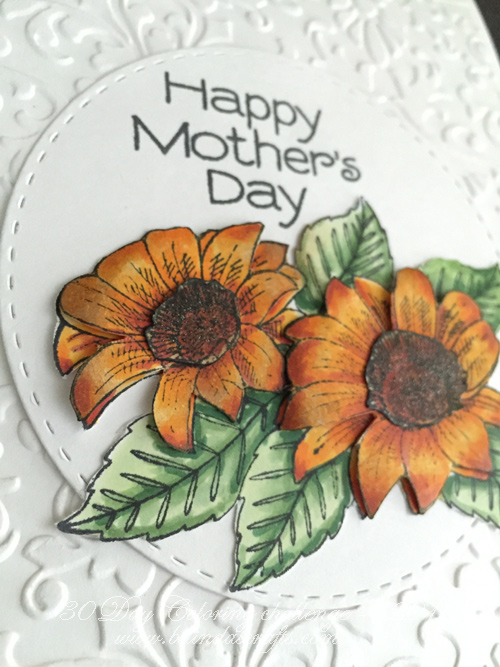 I added Wink of Stella clear to the centers for a touch of shine. and you can see the dimension of this card from this shot.
 My final card came out pretty cool. I definitely going to make some more.