Hello Everyone! Well it is week two of Silhouette Sunday and I am still continuing to explore my Silhouette. I learned how to perform a print and cut. This has proven to be a major blessing for me because I hand color and cut my cards. So if I can cut down on production time in any way it is great news. Next week I will share with you how to print and cut digital images and I will include a cheat sheet you can print and cut that you can use to remember the steps.
Yesterday I was printing and cutting one of my new digi images and I came across a problem and instead of searching for a solution on the web I played around and found a solution. I will, however explore this feature further online and in the manual and provide more in-depth information in the future.
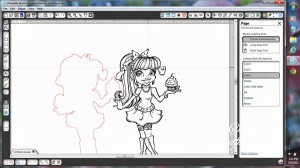
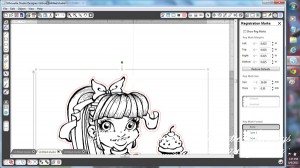
What happened was that I got to the point where I was in the Trace Window and I had created the Outer Edge of the image (you see it in red to the left of the image). Well I noticed the outlines for her bows on her head were not quite right. They were a little short.
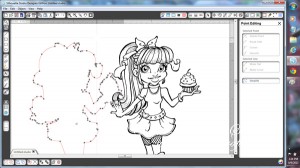
So I clicked on Edit Points in the task bar on the left. You then can see all the points on the outline.
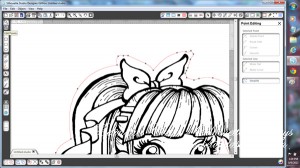
Then I moved the image back onto the outline and I could better see where the red lines cut off the bows. I began clicking on the points and moving them out.
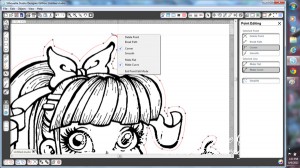
I noticed that the moved out and were forming a straight path. So I right clicked while on a point and an additional menu for editing points appeared. I saw the option to make rounded points. And for this instance the bow was rounded at the tip so I clicked on rounded and was pleasantly surprised to see that when I moved the point out further it outlined the bow without cutting it off.
I learned that you can edit the points on the outlines and how to accommodate curved paths. This will come in handy in the future. Well I hope I haven’t confused you and if nothing else inspired you to explore this amazing tool more because there is always more to learn.
Thanks for travelling through this journey with me.
Belinda
